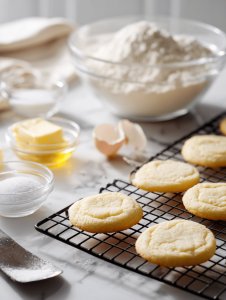
Begin by preheating your oven to 180°C (350°F) and lining a baking sheet with parchment paper to prevent sticking.
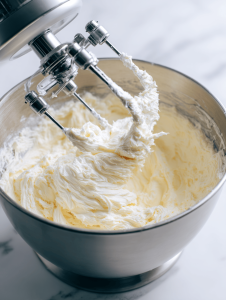
In a large mixing bowl, beat the softened butter and caster sugar together until the mixture becomes light, fluffy, and pale—about 3 minutes. You’ll notice it’s creamy and slightly increased in volume.
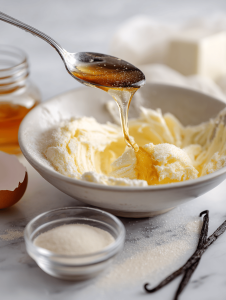
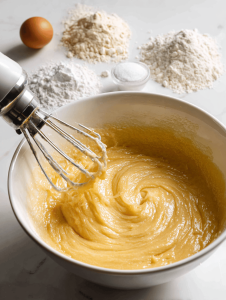
Add the egg and vanilla extract to the creamed mixture, then beat until just combined, creating a smooth, shiny batter.
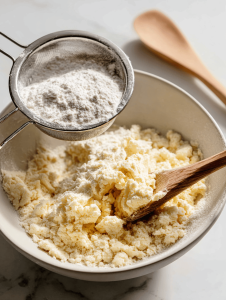
Gradually sift in the flour, baking powder, and a pinch of salt, mixing gently after each addition until the dough begins to come together and appears crumbly but holds when pressed.
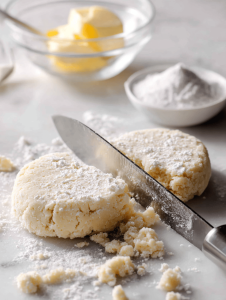
Divide the dough into two equal portions, then shape each into a flat disc. Wrap each in plastic wrap and chill in the refrigerator for at least 30 minutes to relax the dough and make it easier to roll out.
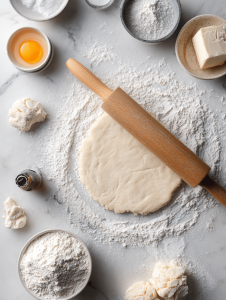
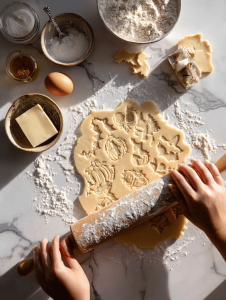
Lightly flour a clean surface and rolling pin, then take one chilled dough disc and roll it out to about 0.5 cm thickness, ensuring an even surface for cutting.
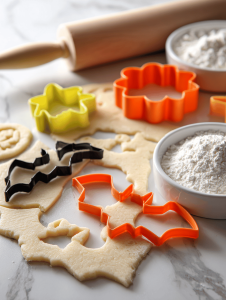
Use spooky-shaped cookie cutters to cut out your desired Halloween shapes, pressing firmly to create clean edges.
Carefully transfer the cut shapes onto the prepared baking sheet, spacing them slightly apart to allow for slight spreading.
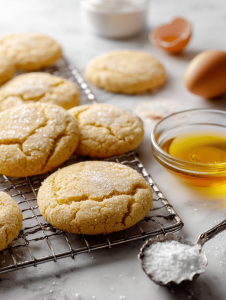
Bake the cookies in the preheated oven for 8 to 10 minutes, or until the edges are just lightly golden. Keep an eye on them to prevent overbaking, which can make them too crisp.
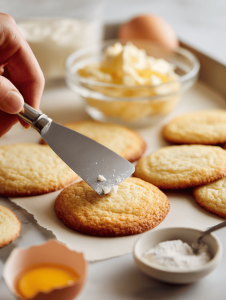
Once baked, transfer the cookies to a wire rack and allow them to cool completely. This helps them set and makes decorating easier without smudging.
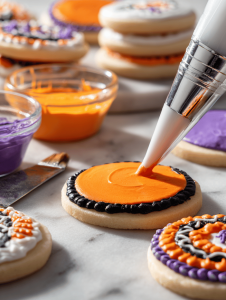
Decorate the cooled cookies with vibrant icing and gel food colors using piping bags and tips. Let the decorations set at room temperature for about 2 hours to achieve a glossy, firm finish.
Enjoy your spooky, sweet Halloween sugar cookies—perfect for sharing and celebrating the season!