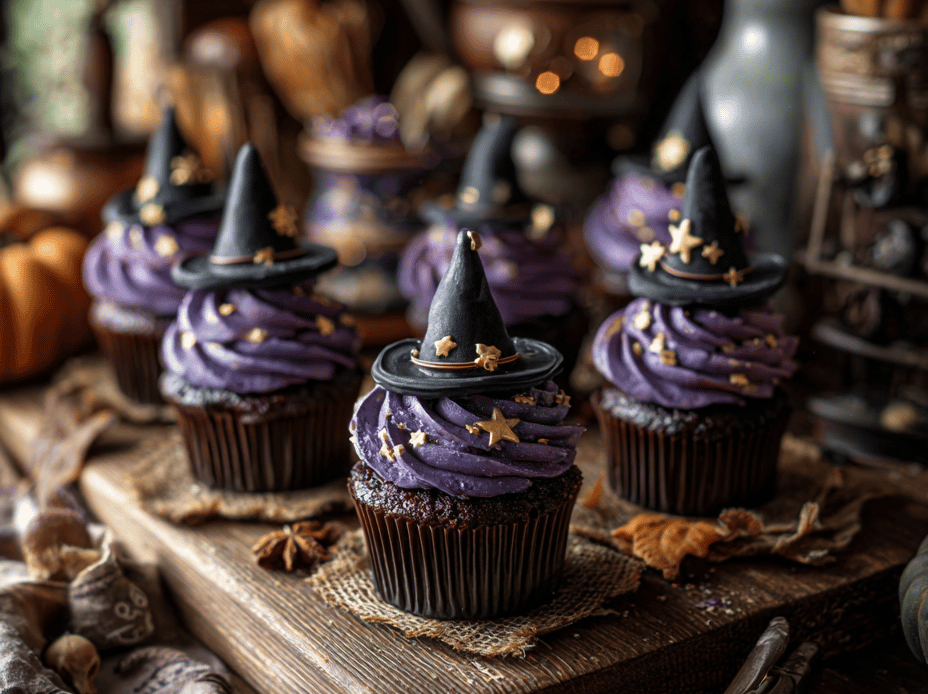
I stumbled upon this idea late one night, desperate for something spooky but tasty. The idea of combining classic cupcakes with a playful, witchy twist just stuck with me. It’s a recipe that invites mess, creativity, and a little bit of chaos, which is exactly how I like my baking sessions.
Why I keep making witch hat cupcakes
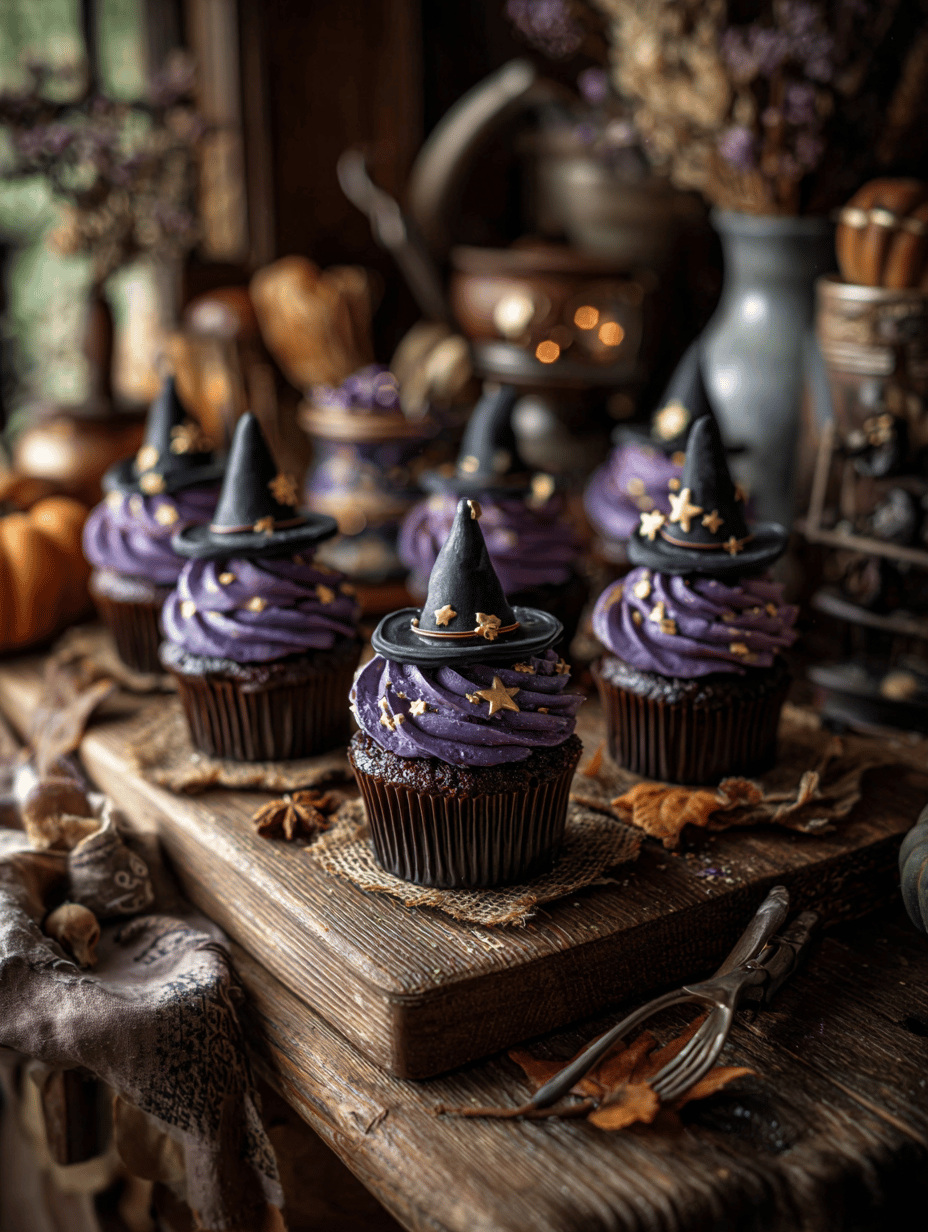
They’re imperfect, charming, and surprisingly forgiving. Every batch feels like a little experiment—cracks, smudges, or uneven frosting included. The joy of watching chocolate cones turn into tiny hats makes every try worth it, especially when friends giggle at how ridiculous they look before tasting. That playful chaos makes me want to try again, each time with a new twist.
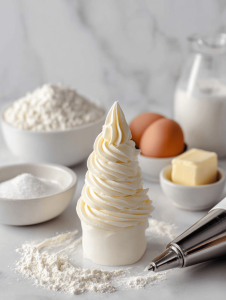
What’s in these witch hats? A breakdown of ingredients
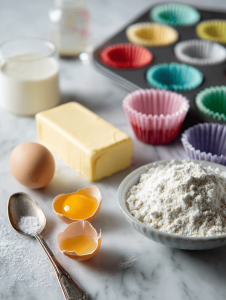
- Flour: The base of your cupcake, gives structure, needs proper measuring for a light crumb.
- Cocoa powder: Adds deep chocolate flavor and a hint of bitterness, be sure to sift for smoothness.
- Butter: Creamy, rich, adds moisture and flavor—use room temp for best blending.
- Chocolate: For the hats, dark and shiny, should be glossy and set firm.
- Powdered sugar: Sweetens and thickens frosting, aim for a silky texture to pipe neatly.
- Vanilla extract: Brightens all flavors, a little goes a long way.
- Milk: Adjusts batter consistency, use whole for richness.
Tools of the trade for witch hat cupcakes
- Mixing bowls: Combine ingredients efficiently and cleanly.
- Electric mixer or whisk: Get the batter smooth and aerated.
- Cupcake tin and liners: Shape and bake the cupcakes.
- Piping bag and tips: Apply frosting neatly or creatively.
- Chocolate melting bowl or microwave-safe dish: Melt chocolate for hat decorations.
- Wire rack: Cool cupcakes evenly.
Step-by-step: Creating witch hat cupcakes from scratch
Step 1: Preheat your oven to 180°C (350°F).
Step 2: Line a cupcake tin with paper liners.
Step 3: Mix your batter: combine flour, sugar, cocoa powder, baking powder, and a pinch of salt.
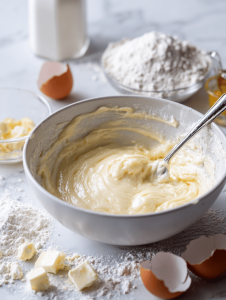
Step 4: Add eggs, milk, oil, and vanilla. Mix until smooth.
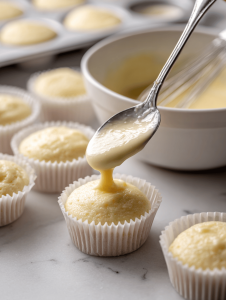
Step 5: Fill cupcake liners about 2/3 full.
Step 6: Bake for 18-20 minutes. Use a toothpick—if it comes out clean, they’re done.
Step 7: Let cupcakes cool completely on a wire rack.
Step 8: Meanwhile, prepare your frosting: butter, powdered sugar, cocoa, and a splash of milk.
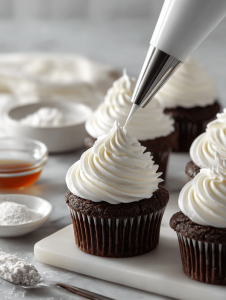
Step 9: Once cooled, frost the cupcakes generously.
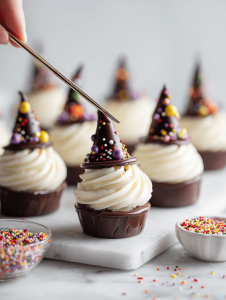
Step 10: To make the hat decorations, melt some chocolate, pipe small cones, and let set.
Cooking checkpoints and tips for perfect witch hats
- Cupcakes should be golden and springy to the touch.
- Chocolate cones should hold their shape without melting.
- Frosting should be smooth and spreadable, not runny.
- Ensure chocolate decorations are fully set before handling to avoid smudges.
Common baking slip-ups and how to fix them
- Undercooked cupcakes.? Use a toothpick to test for doneness.
- Chocolate melting or cracking.? Let chocolate cones cool completely before handling.
- Frosting not spreading smoothly.? Add a little more milk to frosting if too stiff.
- Melted chocolate losing shape.? Don’t rush the chocolate decorations—let them set at room temp.
Witch Hat Cupcakes
Ingredients
Equipment
Method
- Preheat your oven to 180°C (350°F) and line your cupcake tin with paper liners.
- In a large bowl, sift together the flour and cocoa powder to ensure a smooth batter.

- Add the sugar, baking powder, and salt to the dry ingredients and whisk to combine.
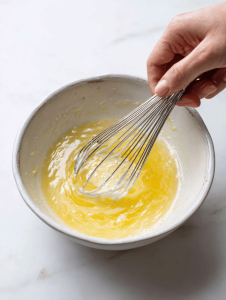
- In another bowl, beat the eggs, then stir in the milk, oil, and vanilla extract until well blended.
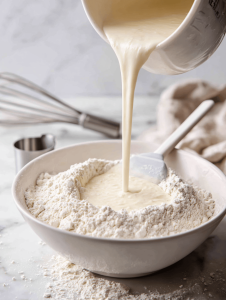
- Pour the wet mixture into the dry ingredients and gently fold until the batter is smooth and slightly bubbly, about 2 minutes.
- Divide the batter evenly into the cupcake liners, filling each about two-thirds full.
- Bake for 18-20 minutes, or until a toothpick inserted into the center comes out clean. The cupcakes will be golden and springy.

- Remove the cupcakes from the oven and let them cool completely on a wire rack, which helps prevent sogginess.
- Meanwhile, prepare the frosting by beating together butter, powdered sugar, cocoa powder, and a splash of milk until smooth and fluffy. Add more milk a teaspoon at a time to reach your desired consistency.
- Frost the cooled cupcakes generously with your chocolate frosting, swirling decoratively if desired.
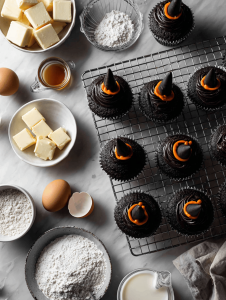
- To create the witch hat decorations, melt the dark chocolate in a microwave-safe dish, then pipe small cone shapes onto parchment paper. Let them set at room temperature until firm and glossy.

- Once the chocolate cones are set, carefully place one on top of each frosted cupcake to resemble a tiny witch hat and enjoy this playful treat!
Notes

Hi, I’m Madison Greene, the creator behind Texture Obsessed. If you have ever fallen in love with the crunch of a perfectly toasted crust, the silkiness of a smooth custard, or the contrast between crispy and creamy in a single bite, then you already understand what inspires me.

