Making spiderweb donuts feels like a little culinary rebellion. The process of shaping, frying, and decorating them gives a satisfying sense of chaos controlled by your hands. They’re a reminder that sometimes, beauty is in the imperfect swirl or the slight wobble of a drip of icing.
Why make these donuts repeatedly?
They’re a playful challenge that rewards patience and precision. The web patterns turn simple fried dough into edible art. Plus, they’re great for spontaneous gatherings or just a weird craving that needs satisfying.
What makes these donuts tick? An ingredient breakdown
- Flour:: All-purpose, provides structure, but can try bread flour for chewier donuts.
- Sugar:: Granulated, sweetens and helps with browning, but brown sugar adds a richer flavor.
- Yeast:: Active dry yeast, makes the donuts rise, giving them that airy inside.
- Milk:: Warm milk activates yeast and keeps dough moist, swap with almond milk for dairy-free.
- Butter:: Melted butter adds richness, but coconut oil can add a subtle tropical note.
- Egg:: Enriches dough and helps with structure, but a flaxseed substitute works for vegans.
- Icing sugar:: For the web patterns, bright and sweet, with a shiny finish.
Tools and equipment you’ll want on hand
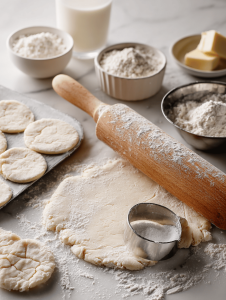
- Rolling pin: To flatten the dough evenly.
- Donut cutter or glass: To cut out perfect circles.
- Deep-fry thermometer: To monitor oil temperature accurately.
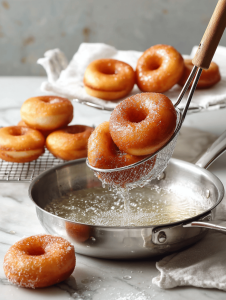
- Slotted spoon: To lift donuts from hot oil safely.
- Cooling rack: To let excess oil drip off and cool properly.
- Piping bag and fine tip: To create spiderweb patterns with icing.
Crafting and frying the perfect spiderweb pattern
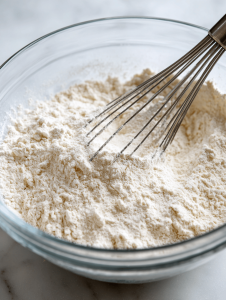
Step 1: Mix flour, sugar, yeast, and a pinch of salt in a bowl until well combined.
Step 2: Add warm milk, melted butter, and an egg. Stir until the dough starts to come together.
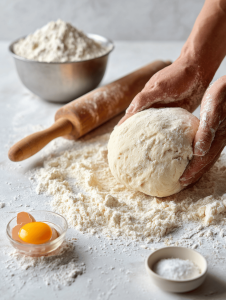
Step 3: Knead briefly on a floured surface—about 5 minutes—until smooth but still a little sticky.
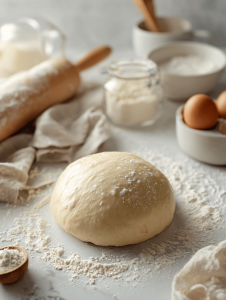
Step 4: Let dough rest in a warm spot for 1 hour, covered with a damp cloth, until it doubles in size.
Step 5: Roll out dough to about 1 cm thickness. Cut into circles with a donut cutter or a glass.
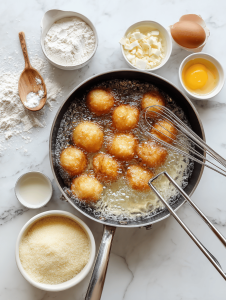
Step 6: Heat oil to 180°C (356°F) in a deep pan. Fry donuts in batches, about 2-3 minutes per side, until golden.
Step 7: Remove donuts with a slotted spoon. Drain on paper towels.
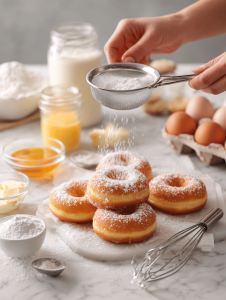
Step 8: While still warm, dip donuts into a glaze or dust with powdered sugar.
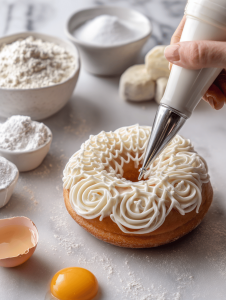
Step 9: Using a piping bag, drizzle spiderweb patterns with icing over cooled donuts.
Key moments to watch while making spiderweb donuts
- Dough should be soft but not sticky; add flour if it sticks excessively.
- Oil temperature must be steady at 180°C (356°F) for even frying.
- Web patterns should be light and airy, not heavy or soggy.
- Donuts should be golden and crispy on the outside, airy inside.
Common pitfalls and how to fix them
- Dough sticking excessively to your hands.? Dough is too sticky? Add a sprinkle of flour and knead lightly.
- Donuts burn on the outside before cooking through.? Oil is too hot? Lower heat to 160°C (320°F) and fry slower.
- Icing slides off or loses shape.? Web icing is too runny? Chill it for 10 minutes before piping.
- Web details are uneven or smudged.? Web pattern looks sloppy? Practice piping on parchment first.

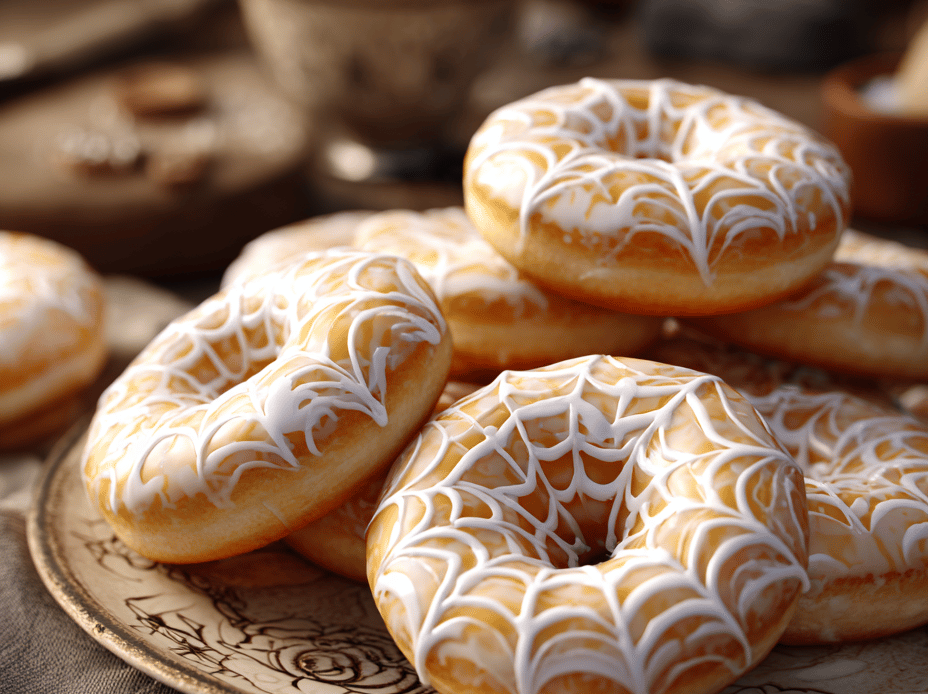
Spiderweb Donuts
Ingredients
Equipment
Method
- Combine flour, sugar, and yeast in a large bowl, whisking them together until evenly mixed. The mixture should resemble a light, dry sand.
- Pour the warm milk into the dry ingredients, then add the melted butter and egg. Stir everything together with a spatula until a sticky dough begins to form.

- Transfer the dough onto a floured surface and knead it gently for about 5 minutes until it becomes smooth but still slightly sticky. Add a little flour if it feels too wet.
- Shape the dough into a ball, cover it with a damp cloth, and let it rest in a warm spot for one hour until it doubles in size. The dough should feel puffy and soft to the touch.
- Once risen, roll out the dough on a floured surface to about 1 cm thick. Use a donut cutter or a glass to cut out circles, arranging them on a floured tray.
- Heat oil in a deep pan to 180°C (356°F). Carefully fry the donuts in batches for 2-3 minutes per side, until they turn a golden brown and crisp up.
- Use a slotted spoon to lift the donuts out of the oil and drain on a cooling rack lined with paper towels. Let them cool slightly until they are warm but not hot.
- Dip the warm donuts into a glaze or dust them with powdered sugar for a sweet finish. Allow the glaze to set for a few minutes.
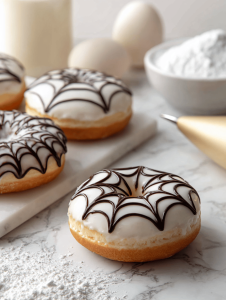
- Fill a piping bag fitted with a fine tip with icing sugar or a prepared icing. Pipe delicate web patterns over the cooled donuts, creating intricate swirl designs.
- Once decorated, set the donuts aside for a few minutes to let the icing firm up. Your spiderweb donuts are now ready to enjoy—crispy, airy, and beautifully decorated!

Hi, I’m Madison Greene, the creator behind Texture Obsessed. If you have ever fallen in love with the crunch of a perfectly toasted crust, the silkiness of a smooth custard, or the contrast between crispy and creamy in a single bite, then you already understand what inspires me.

