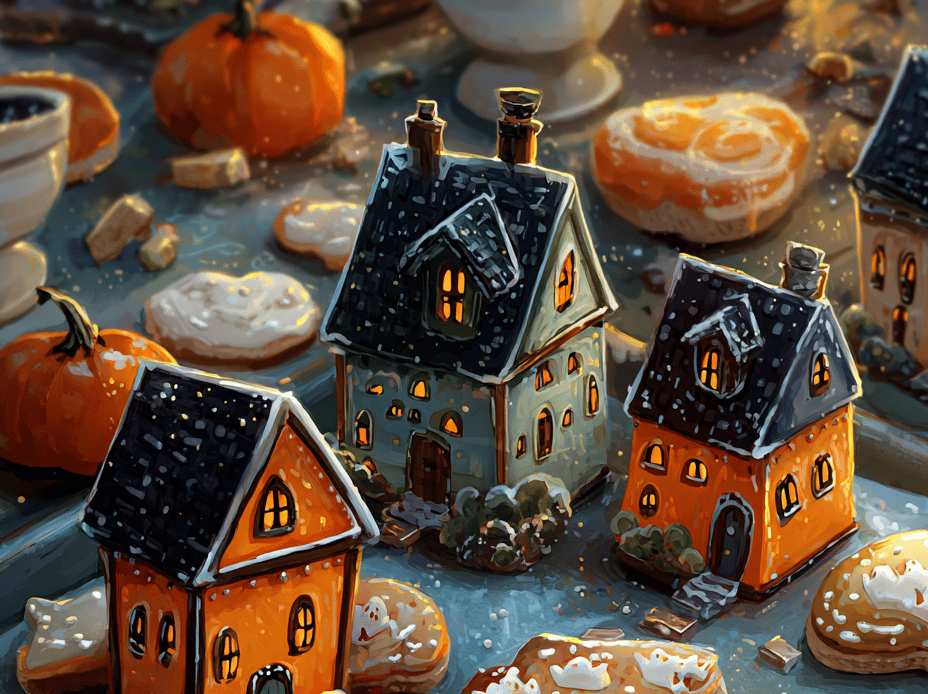
Baking these Haunted House Cookies feels like a tiny act of magic. It’s all about transforming simple ingredients into something that sparks joy and a bit of spooky mischief. I love how the dough smells—rich butter with a hint of vanilla—that’s the smell of childhood and autumn.
Why do these haunted cookies keep calling me back?
Their nostalgic smell pulls me into childhood memories, but each batch is a new adventure. I love the chaos of decorating, turning simple dough into tiny haunted scenes. Plus, they’re endlessly customizable—spooky, funny, or elegant—whatever mood strikes.
What’s in these spooky treats?
- Unsalted butter: Creamy and rich, it gives the cookies a tender crumb. Swap for margarine if you need a dairy-free version.
- Granulated sugar: Sweet and straightforward, it helps with browning. Brown sugar can add a caramel note if you prefer.
- Eggs: Bind the dough and add richness. Flaxseed eggs work well for vegan baking.
- Vanilla extract: Brightens everything with a smoky, sweet aroma. Almond extract adds a different dimension.
- All-purpose flour: The foundation, providing structure. Whole wheat flour makes it heartier, but reduces lightness.
- Baking soda: Leavening agent for a slight rise. Baking powder can be an alternative, but not as effective.
- Salt: Enhances flavors, balances sweetness. Sea salt flakes on top look spooky and classy.
Tools of the trade for haunted baking
- Rolling pin: Evenly flattening dough to uniform thickness.
- Cookie cutters: Shaping spooky house and ghost forms.
- Baking sheet: Holding cookies during baking.
- Wire rack: Cooling cookies to keep them crisp.
- Icing bags and tips: Decorating with precision and flair.
Step-by-step guide to spooky good cookies
Step 1: Preheat your oven to 180°C (350°F).
Step 2: Gather your ingredients and tools on the counter.
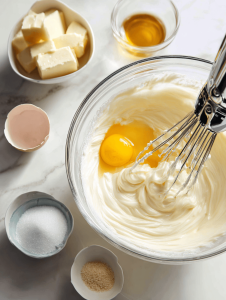
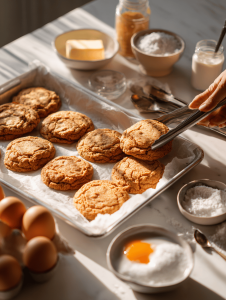
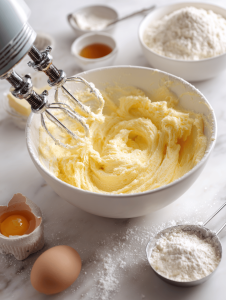
Step 3: Cream the butter and sugar until light and fluffy, about 3 minutes.
Step 4: Mix in eggs and vanilla until just combined.
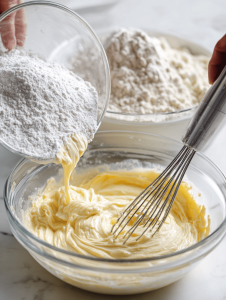
Step 5: In a separate bowl, whisk together flour, baking soda, and salt.
Step 6: Gradually add dry ingredients to the wet, mixing until a dough forms.
Step 7: Chill the dough for at least 30 minutes to prevent spreading.
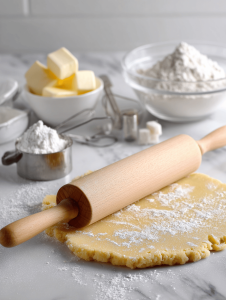
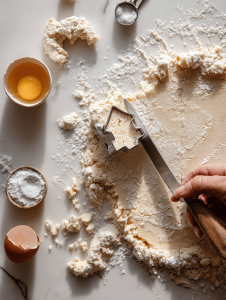
Step 8: Roll out the dough to about 0.5 inch thick.
Step 9: Cut out spooky shapes with cookie cutters or freehand with a knife.
Step 10: Place cookies on a lined baking sheet, about 2 inches apart.
Step 11: Bake for 10-12 minutes, until edges are golden.
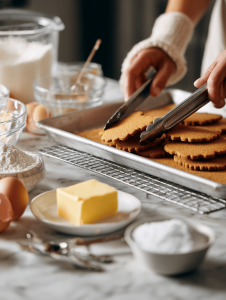
Step 12: Let cookies cool on a wire rack for 10 minutes.
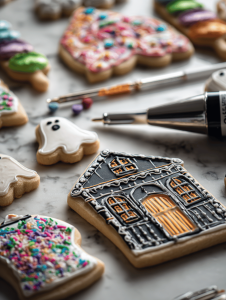
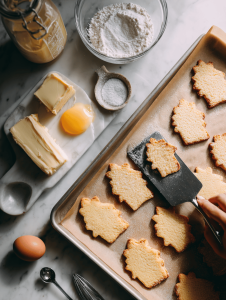
Step 13: Decorate with icing, candies, or spooky details once cooled.
Key tips for perfect Haunted House Cookies
- Cookies should be evenly baked, not too dark around the edges.
- Dough needs to be chilled to prevent spreading and help shape.
- Decorate only after cookies are completely cooled to avoid smudges.
- Use a steady hand for spooky details to keep them crisp and clear.
Common pitfalls and how to fix them
- Dough too dry and crumbly.? DUMPED too much flour, making dough crumbly → Add a teaspoon of milk until dough comes together.
- Overbaked edges.? OVERTURNED cookies, causing burnt edges → Bake for a shorter time, check at 10 minutes.
- Cookies spreading too much.? SEVERELY misshapen cookies, uneven shapes → Chill dough longer or roll thicker.
- Smudged decorations.? ICING smudging before drying → Let icing set for at least 30 minutes.
Haunted House Cookies
Ingredients
Equipment
Method
- Combine softened butter and granulated sugar in a mixing bowl and beat with an electric mixer or whisk until the mixture is light, fluffy, and creamy, about 3 minutes, releasing a sweet, buttery aroma.
- Add the egg and vanilla extract to the creamed mixture and beat just until combined, ensuring a smooth, shiny texture.

- In a separate bowl, whisk together the flour, baking soda, and salt. Gradually add this dry mixture to the wet ingredients, mixing on low speed until a cohesive dough forms and pulls away from the sides of the bowl.

- Gather the dough into a ball, then flatten into a disc, wrap in plastic wrap, and chill in the refrigerator for at least 30 minutes to relax the gluten and make it easier to roll out.

- Preheat your oven to 180°C (350°F). Remove the chilled dough and place it on a lightly floured surface. Use a rolling pin to roll the dough out to about 0.5 inch thick, ensuring even pressure for uniform cookies.

- Use spooky-shaped cookie cutters or a sharp knife to cut out haunted house and ghost shapes from the rolled dough, creating fun and festive designs.
- Line a baking sheet with parchment paper. Carefully transfer the cut-out cookies onto the sheet, placing them about 2 inches apart to allow for some spreading during baking.
- Bake the cookies for 10 to 12 minutes, watching for the edges to turn a golden brown while the centers remain tender. The aroma of baked sugar and vanilla will fill your kitchen.

- Remove the baking sheet from the oven and let the cookies cool on it for about 10 minutes, then transfer them to a wire rack to cool completely, which helps keep them crisp and prevents smudging decorations.
- Once cooled, decorate your haunted house and ghost cookies with icing, candies, or spooky details. Use icing bags and tips for precise designs, and let the decorations set for at least 30 minutes before handling.

Notes

Hi, I’m Madison Greene, the creator behind Texture Obsessed. If you have ever fallen in love with the crunch of a perfectly toasted crust, the silkiness of a smooth custard, or the contrast between crispy and creamy in a single bite, then you already understand what inspires me.