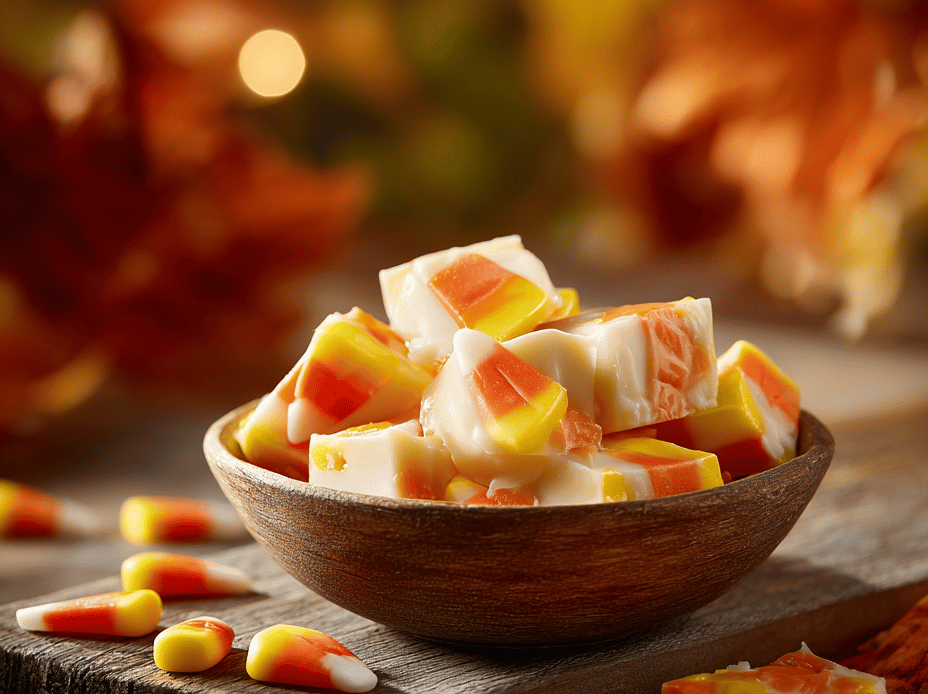
Candy corn fudge isn’t just a treat, it’s a small act of defiance against the fleeting nature of seasonal flavors. I love how the bright orange, yellow, and white candies transform into a creamy, chewy bite that takes me straight back to my childhood Halloweens. It’s a simple recipe, but the way the colors and textures come together feels like a little victory each time I make it.
Why I keep coming back to this fudge
It’s a small celebration of childhood, simple but profound. The way the candy corn melts just enough to hold its shape, yet still offers a chewy bite, keeps me hooked. Plus, it’s a no-fuss, no-bailout recipe for when I need a quick, colorful fix. Every batch reminds me that sometimes, the simplest treats pack the most nostalgia.
Breaking down the ingredients
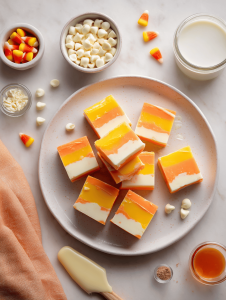
- White chocolate chips: Creamy base that melts smoothly, giving the fudge its rich texture.
- Sweetened condensed milk: Sweetens and binds everything together, making it chewy and luscious.
- Candy corn: The nostalgic crunch and sweetness, adding color and texture.
- Vanilla extract: Enhances overall flavor, brightening the sweetness.
- Salt pinch: Balances the sugar and amplifies flavors, just a tiny dash.
- Optional: orange liqueur: Adds a citrusy depth if you want a grown-up flair.
- Parchment paper: Prevents sticking, easy to lift out and cut.
Tools and equipment for candy corn fudge
- 9×9 inch pan: For setting the fudge into a firm, sliceable block.
- Heatproof bowl: To melt the chocolate gently over simmering water.
- Spatula: For mixing and smoothing the fudge surface.
- Parchment paper: Keeps the fudge from sticking and makes removal easier.
- Knife: To cut the fudge into squares once set.
Step-by-step guide to candy corn fudge
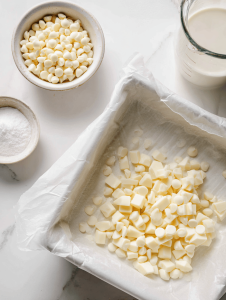
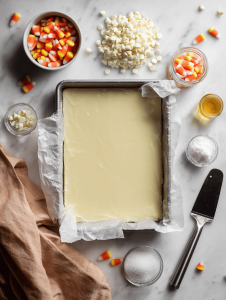
Step 1: Line a 9×9 inch pan with parchment paper, leaving overhang for easy lifting.
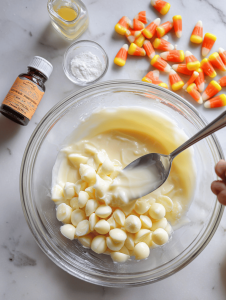
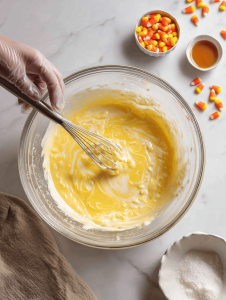
Step 2: Combine 2 cups of white chocolate chips and 1 cup of sweetened condensed milk in a heatproof bowl.
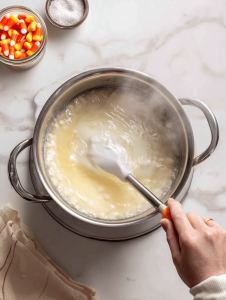
Step 3: Set the bowl over a pot of simmering water (about 80°C / 176°F), stirring constantly until smooth.
Step 4: Once melted, remove from heat and fold in 1 teaspoon of vanilla extract and a pinch of salt.
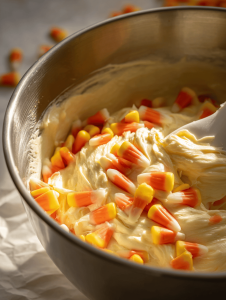
Step 5: Quickly stir in 1 cup of candy corn, making sure they’re evenly distributed but not melted.
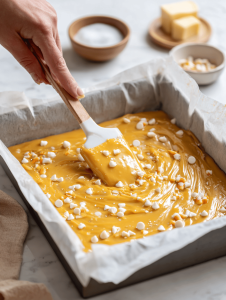
Step 6: Pour the mixture into your prepared pan, smoothing the top with a spatula.
Step 7: Let it cool at room temperature for about 30 minutes, then refrigerate for at least 2 hours until firm.
Step 8: Cut into small squares once set, and enjoy the chewy, sweet bite.
Cooking checkpoints and tips to keep in mind
- Ensure your chocolate is fully melted but not overheated or it can seize.
- The mixture should be smooth and glossy before pouring into the pan.
- Watch for a slight shimmer or crackling sound when stirring over heat—the sign it’s ready.
- Refrigerate until fully set; rushing this step can lead to messy slices.
Common mistakes and how to fix them
- Overheating the chocolate.? Use low heat to melt chocolate, or it might seize.
- Chocolate burning or seizing.? Stir constantly to prevent burning or sticking.
- Not letting the fudge set properly.? Don’t rush the cooling—let it set fully in the fridge.
- Candies sinking or not distributing evenly.? Add candies quickly before the mixture firms up.

Candy Corn Fudge
Ingredients
Equipment
Method
- Line your 9x9 inch pan with parchment paper, letting the edges overhang for easy removal.
- In a heatproof bowl, combine the white chocolate chips and sweetened condensed milk.
- Set the bowl over a pot of gently simmering water, making sure the bottom doesn’t touch the water, and stir constantly until the mixture is smooth and glossy.
- Remove the bowl from heat and stir in vanilla extract and a pinch of salt, mixing until well incorporated.
- Quickly fold in the candy corn, ensuring they’re evenly distributed but not melted into the mixture.
- Pour the mixture into your prepared pan and spread it evenly with a spatula, smoothing the top.
- Allow the fudge to cool at room temperature for about 30 minutes, then transfer the pan to the refrigerator and chill for at least 2 hours until firm.
- Once set, lift the fudge out of the pan using the parchment overhang and place on a cutting board.
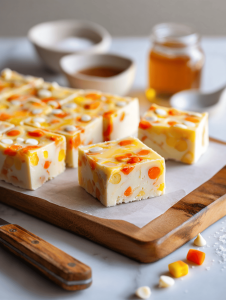
- Use a sharp knife to cut the fudge into small squares, revealing the colorful, chewy centers.
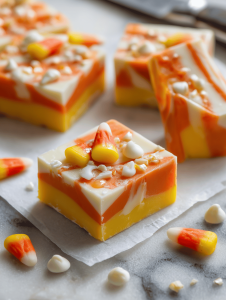
- Arrange the squares on a plate and enjoy this nostalgic, sweet treat with a chewy, creamy texture and vibrant colors.
Notes

Hi, I’m Madison Greene, the creator behind Texture Obsessed. If you have ever fallen in love with the crunch of a perfectly toasted crust, the silkiness of a smooth custard, or the contrast between crispy and creamy in a single bite, then you already understand what inspires me.

