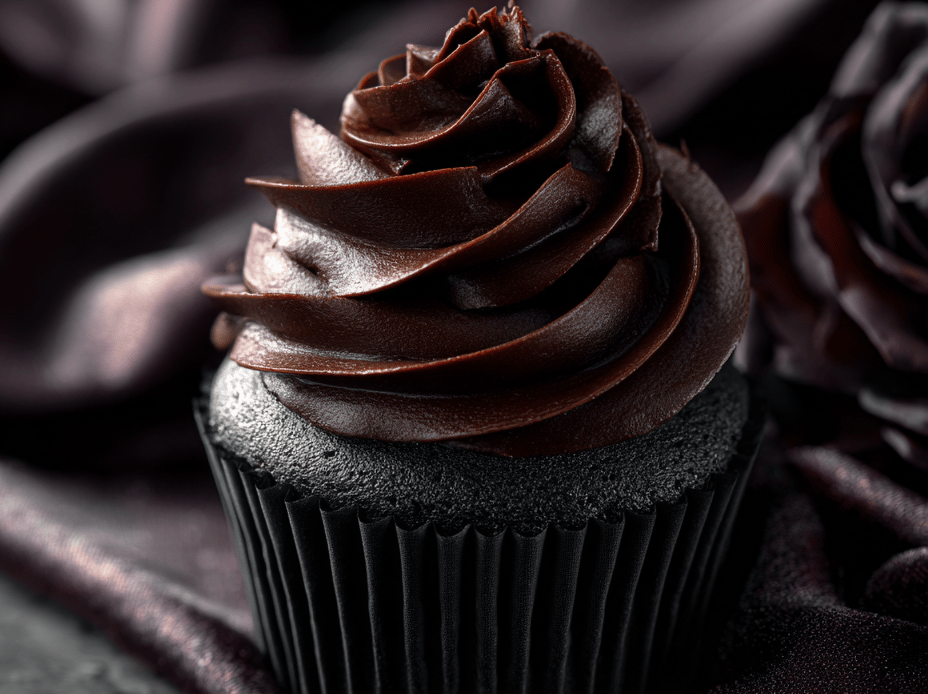
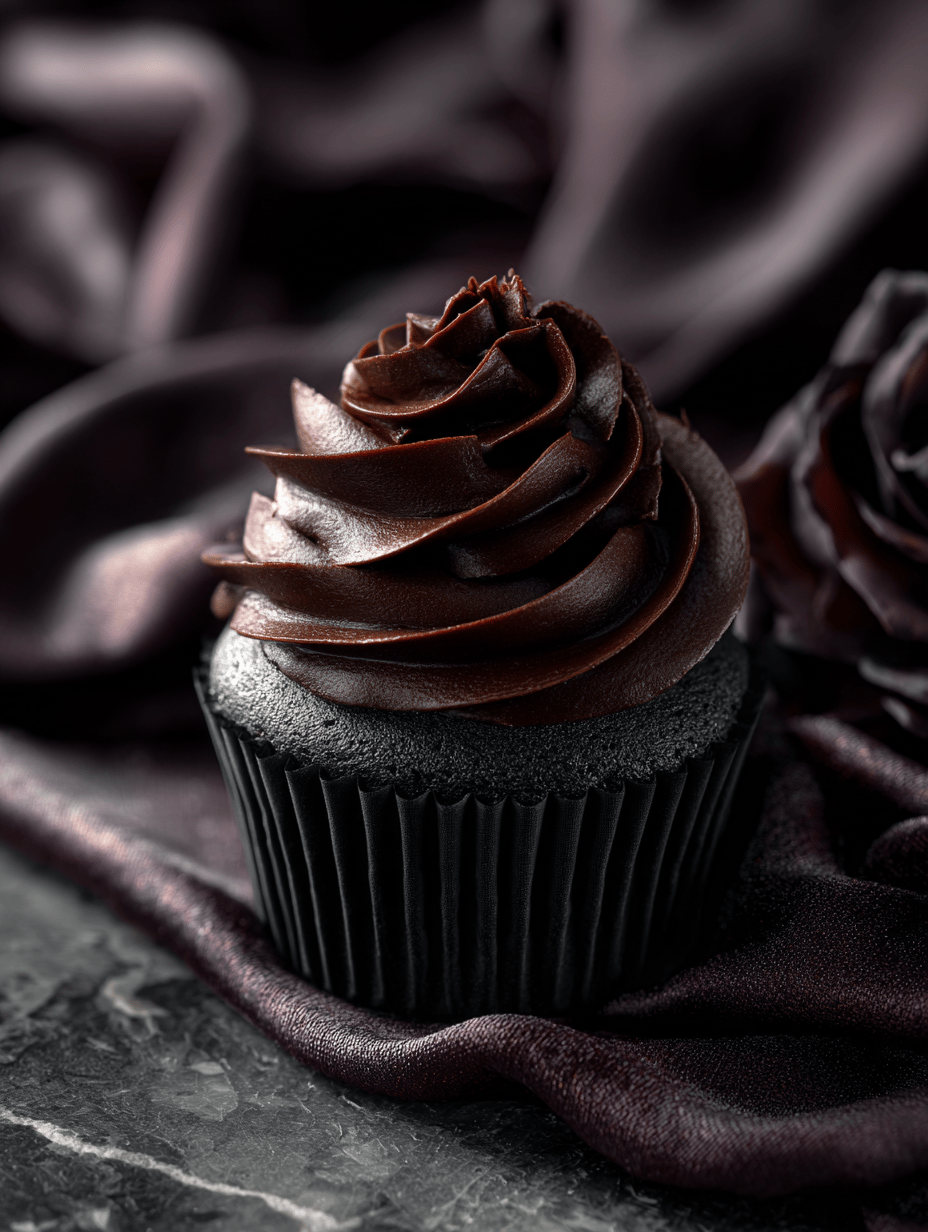
Black velvet cupcakes aren’t just a dark twist on the classic; they’re a celebration of contrast. The deep cocoa flavor paired with a hint of acidity creates a surprisingly bright bite amidst the darkness. They’re perfect for a special occasion or just when you crave something a little different and a little decadent. Baking them feels like a quiet rebellion—rich, moody, and a little mysterious.
Why These Cupcakes Keep Calling Me Back
Their unexpected richness and the slight bitterness of cocoa always cut through the sweetness. I love how they look—so dark and moody, yet so inviting. Baking them feels like a quiet act of rebellion, a little indulgence in a hectic world. They remind me that sometimes, the simplest ingredients can produce something truly memorable.
Dark, Rich, and Unexpected: Ingredient Insights
- Cocoa powder: Gives that deep, smoky flavor. Swap with Dutch-processed for less acidity.
- Buttermilk: Adds tang and moisture. Substitute with sour cream or yogurt if needed.
- Vegetable oil: Keeps the cupcakes ultra-moist. Use melted butter for a richer flavor.
- Granulated sugar: Sweetens and tenderizes. Brown sugar adds a caramel note.
- Vanilla extract: Brightens the dark cocoa. Use vanilla bean paste for extra depth.
- Eggs: Bind the batter. Use flax eggs for a vegan version.
- Salt: Enhances flavors. Always a pinch, not a tablespoon.
Tools of the Dark Arts
- Mixing bowls: For combining wet and dry ingredients.
- Electric mixer: To beat butter, sugar, and eggs smoothly.
- Cupcake tin: Holds the liners and batter during baking.
- Silicone spatula: Scrape down bowls and fold ingredients gently.
- Toothpick: Test for doneness.
Simple Steps to Dark, Moist, and Lush Cupcakes
Step 1: Preheat your oven to 180°C (350°F).
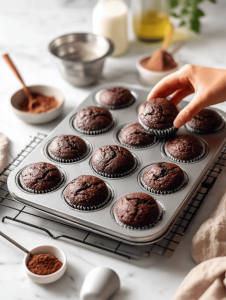
Step 2: Line a cupcake tin with paper liners.
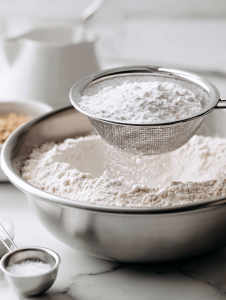
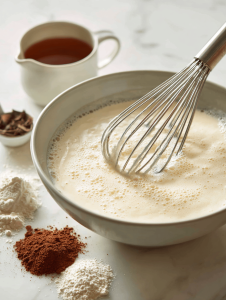
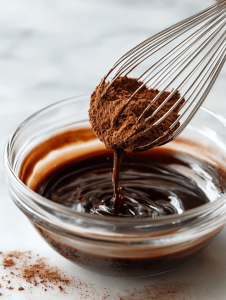
Step 3: In a small bowl, sift together the flour, cocoa powder, baking soda, and salt.
Step 4: In a large bowl, beat the butter and sugar until creamy, about 3 minutes.
Step 5: Add eggs one at a time, beating well after each.
Step 6: Mix in vanilla extract.
Step 7: Alternate adding dry ingredients and buttermilk, starting and ending with dry ingredients.
Step 8: Divide batter evenly into liners, filling about 2/3 full.
Step 9: Bake for 18-20 minutes, or until a toothpick inserted in the center comes out clean.
Step 10: Let cupcakes cool in the tin for 5 minutes, then transfer to a wire rack to cool completely.
Cooking Tips to Ensure Perfect Black Velvet Cupcakes
- Ensure your oven is properly preheated for even baking.
- Do not overmix the batter to keep cupcakes tender.
- Check for doneness with a toothpick; it should come out clean.
- Allow cupcakes to cool completely before frosting to prevent melting.
Common Pitfalls and How to Dodge Them
- Lumpy batter from not sifting dry ingredients. Fix: Sift thoroughly to break up clumps.? OVER-MIXING BATTER: Leads to dense cupcakes. Fix by mixing just until ingredients are combined.
- Cupcakes sinking in the middle. Fix: Don’t open oven door early.? OVEN TEMP ERRORS: Causes uneven baking. Fix by using an oven thermometer.
- Frosting sliding off. Fix: Ensure cupcakes are fully cooled.? Overbaking leading to dry cupcakes. Fix: Start checking at 18 minutes.
Black Velvet Cupcakes
Ingredients
Equipment
Method
- Preheat your oven to 180°C (350°F). Line a cupcake tin with paper liners to prepare for baking.
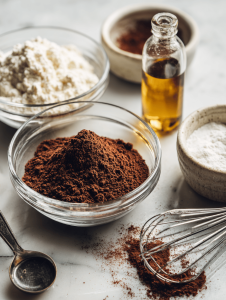
- Sift together the flour, cocoa powder, baking soda, and salt into a large mixing bowl. This ensures a smooth, lump-free batter.
- In a separate bowl, beat the butter and sugar until the mixture is light, fluffy, and fragrant, about 3 minutes. Use an electric mixer for best results.
- Add eggs one at a time to the butter mixture, beating well after each addition. The batter should become smooth and glossy.
- Mix in the vanilla extract, ensuring it's evenly distributed, which will brighten the dark cocoa flavor.
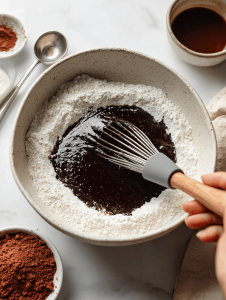
- Alternate adding the dry ingredients and buttermilk to the wet mixture, beginning and ending with the dry. Mix gently until just combined to keep the batter tender.
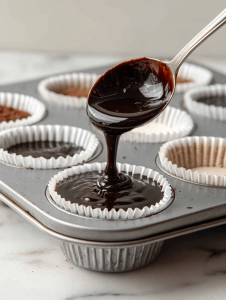
- Divide the batter evenly into the prepared cupcake liners, filling each about two-thirds full for a nice rise.
- Bake in the preheated oven for 18-20 minutes. Check for doneness by inserting a toothpick in the center; it should come out clean.
- Remove the cupcakes from the oven and let them cool in the tin for about 5 minutes. Then transfer them to a wire rack and cool completely before frosting.
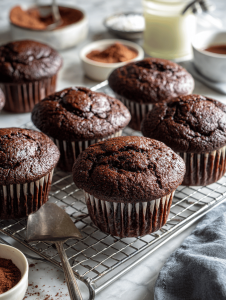
- Once cooled, the cupcakes will have a moist crumb with a deep, dark appearance and a slight sheen on top, inviting and decadent.
Notes

Hi, I’m Madison Greene, the creator behind Texture Obsessed. If you have ever fallen in love with the crunch of a perfectly toasted crust, the silkiness of a smooth custard, or the contrast between crispy and creamy in a single bite, then you already understand what inspires me.

